
Custom LED Assemblies, Built to Your Drawing
Send us the LED strip connector part number and the length. It comes back soldered, sleeved, sealed and tested — ready to drop into your product. This is not a service we bolt on; it is most of what we build. Everything else on the SuperLightingLED site ships from stock in 24–48 hours — this page is for the jobs where the stock length, connector or colour temperature is not the one you need. One piece or ten thousand: the production floor is ours, so there is no minimum to argue about.
If you build equipment, the lighting is never the hard part — the interface is.
What normally happens
What we do instead
Why it is cheaper, not dearer
The part most suppliers will not touch. It is routine work here.
Tell us the part number of the LED strip connector on your equipment and we fit the mating half to the LED strip light. Housing, terminals, wire gauge, tail length, pin order — all to your specification. If you are not sure of the part number, send a photograph of the socket with something for scale and we will identify it.
The build, photographed on our floor
Tap any photo to enlargeOne order, start to finish: bare terminals, crimped leads, the connector your equipment uses, soldered to the LED neon flex, sealed and lit. These are our own production photos, not stock images.
Terminals to suit your connector
Your connector series decides the terminal, so we buy that exact part on the reel. Nothing is substituted for something close.


Crimped to your wire gauge
Every core is stripped to length, crimped and pull-checked. Your drawing sets the gauge, the colour code and the outer diameter — 22 AWG four-core here.

The housing that mates with your equipment
We fit the mating half of the LED strip connector already on your equipment — Molex, JST, TE, Hirose, Amphenol, Deutsch, JAE, any series.


Terminals seated, pin order set
Terminals go into the housing in the pin order on the drawing you confirmed, then each lead is cut to your tail length.


Soldered to the LED strip light or LED neon flex
Cut to your exact length, soldered to the pads, and the cut end sealed with an end cap. It happens here, not on your bench.
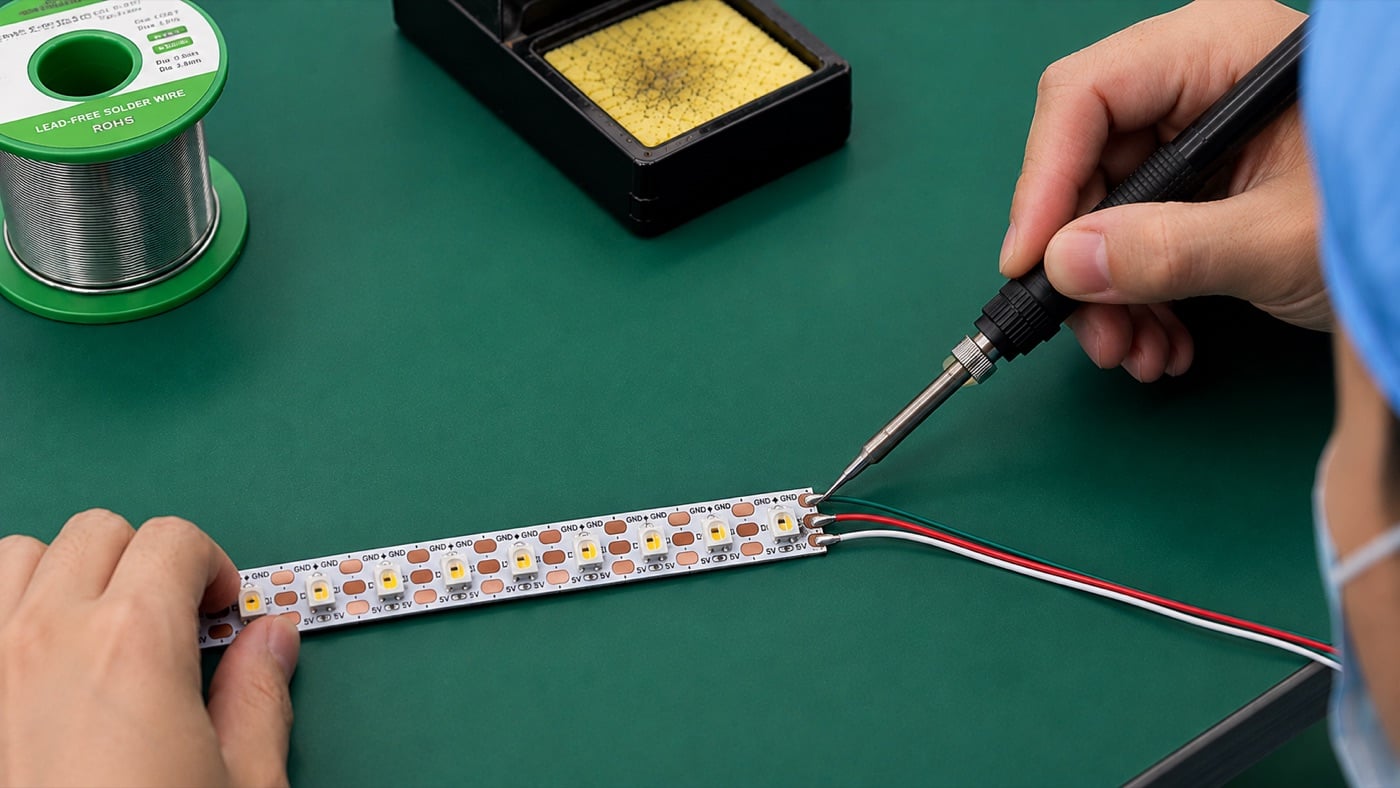

Powered and checked before packing
Every assembly is powered up and checked — polarity, colour order, data direction, full length lit — then coiled and packed.


| What you specify | Example | Notes |
|---|---|---|
| LED strip connector part number | Molex 52266-0411 (4-pin male plug housing) | Any series — Molex, JST, TE, Hirose, Amphenol, Deutsch, JAE |
| Mating half | Molex 52213-0411 (4-pin female receptacle) | Fit one end, both ends, or a different type at each end |
| Wire gauge and OD | 22 AWG, 4-core, 6mm outer diameter | Specify insulation type if the application needs it |
| Tail length | 22 cm from LED strip light to LED strip connector | Any length. Different at each end is fine |
| Pin order | Red +V, black −V, green DATA, blue spare signal | We follow your pinout exactly and label it on the drawing we return |
| LED strip light specification | TM1934 2835 RGB, 120 LED/m, 10mm, 24V, IP20 | Any product on this site, or one we source for the job |
Pin order is checked, not assumed
Getting polarity or data-line order wrong on a few thousand assemblies is an expensive mistake, so we do not infer it. We send back a written pinout — which colour goes to which pin, in your LED strip connector’s numbering — and we do not start production until you have confirmed it. On first orders we will normally build and ship a small number of pieces for you to fit-test before the balance runs. SuperLightingLED has worked that way since we started building to drawings — it catches wrong part numbers and mirrored pin orders while they still cost nothing to fix.
One line from a repeat customer’s order, reproduced as written.
901 pcs × 1.75 m — TM1934 2835 RGB, 20 segments, 120 LED, 10 mm, 24 V, IP20 bare board, adhesive backing, break-point resume. Input terminated with Molex 52266-0411.
901 pcs × 2.65 m — same specification. Input Molex 52266-0411, output Molex 52213-0411.
Why it repeats
Two different lengths, one order
Reordering years later
Cutting and soldering is the entry level. These are the jobs that need a factory.
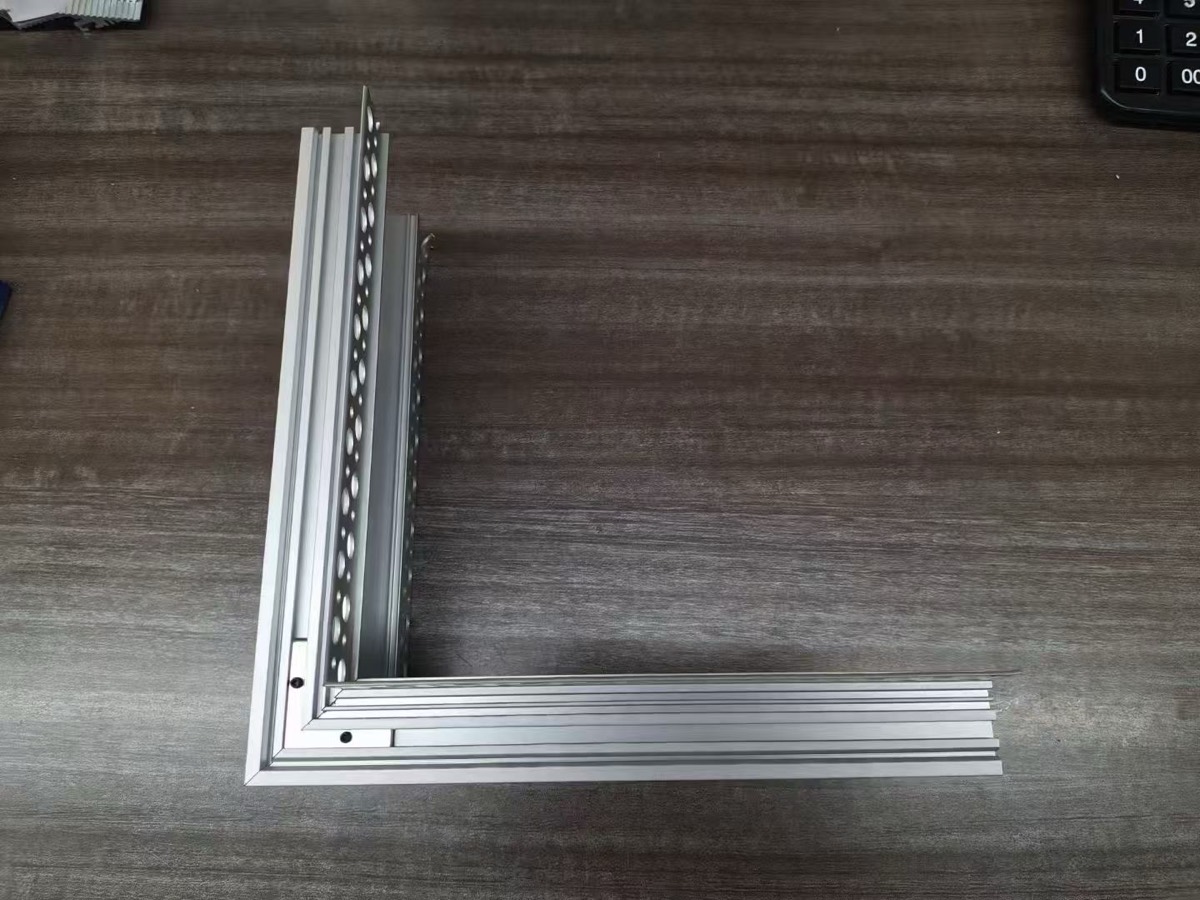
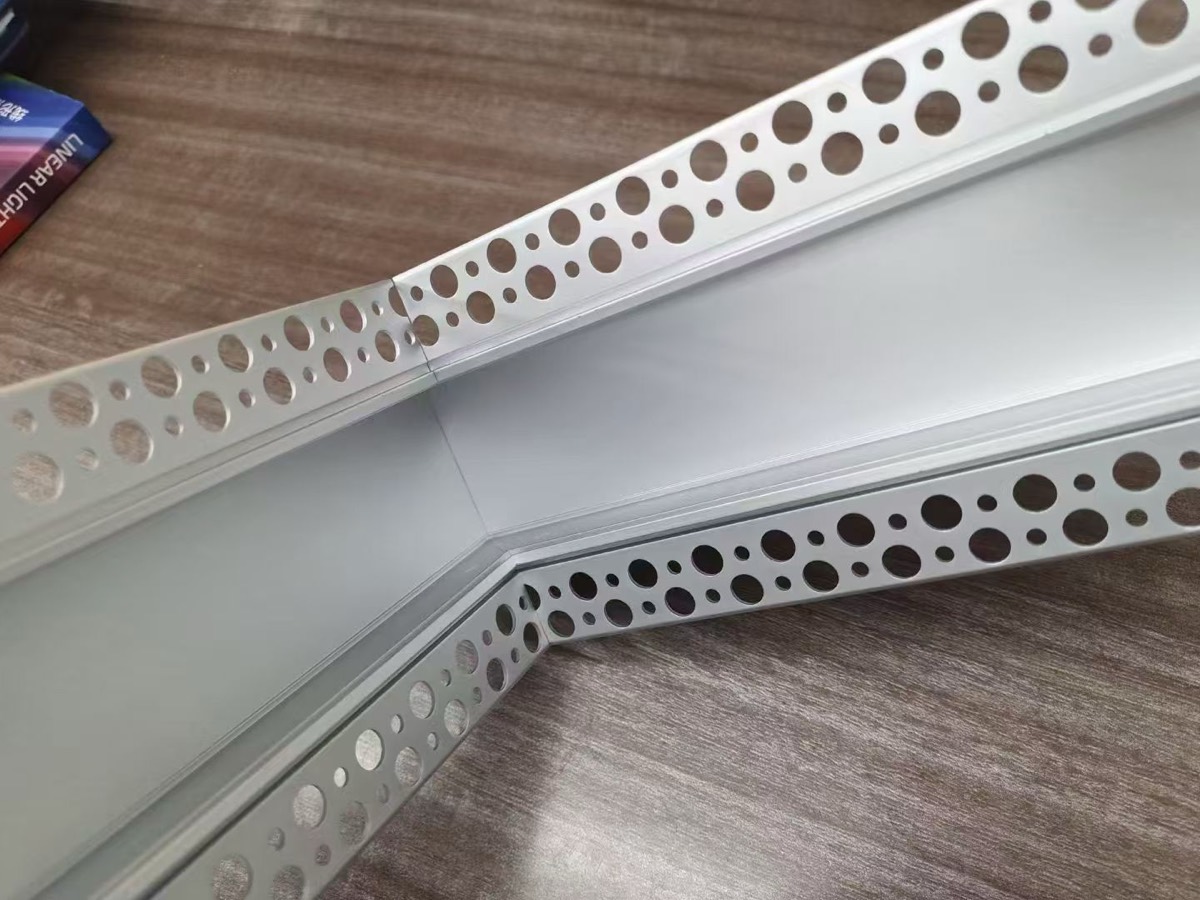
Silicone extrusion
Over-moulding & end caps
One-piece cable exit
Assembled kits
Custom PCB layouts
Private label
The pattern is always the same: a piece of equipment that needs light inside it, with an LED strip connector already decided.
Equipment & machinery
Vehicles & mobility
Robotics, drones & models
EV charging & infrastructure
Signage & display builders
Furniture & cabinetry
Not sure which LED strip connector your equipment uses?
Send a photo of the socket — straight on, with a ruler or a coin next to it — plus the pin count and the voltage. We identify LED strip connectors from photographs regularly, and we would rather spend ten minutes doing that than have you order the wrong mating half. Browse LED connectors and accessories to see the standard parts we already stock.
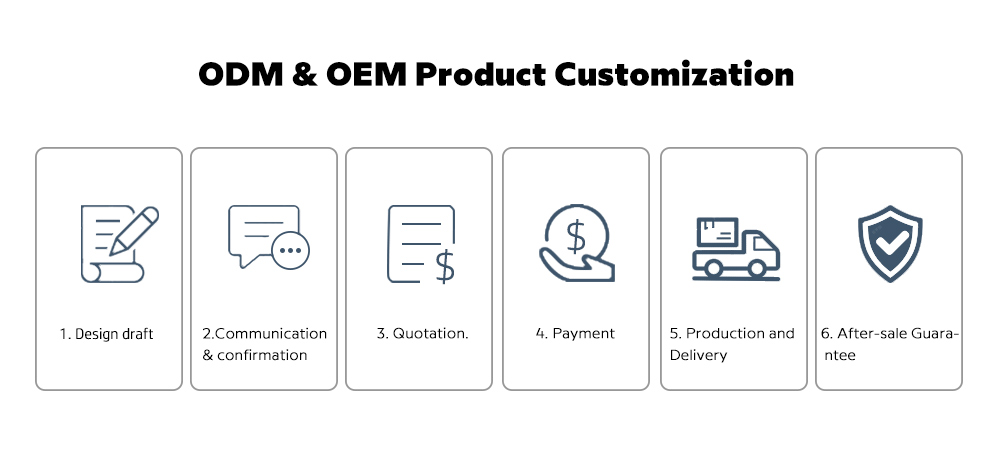
Three stages before production, and none of them costs you anything.
Enquiry
Specification & quotation
Sample, then production
The more of this you can answer, the faster and tighter the quotation comes back.
Electrical
Optical
Mechanical
Commercial
Missing several of these is normal on a first enquiry. Send what you have — the specification is a conversation, and it is one we have several times a week.
Start a custom build
Send a part number, a drawing, a photograph of the LED strip connector, or a description of the job. All of them are a valid starting point. A person replies, normally within one business day.
Custom assemblies carry the same SuperLightingLED warranty as our standard products — see warranty & lifetime support. Tooling costs, where any apply, are quoted separately and stated up front.